Printing
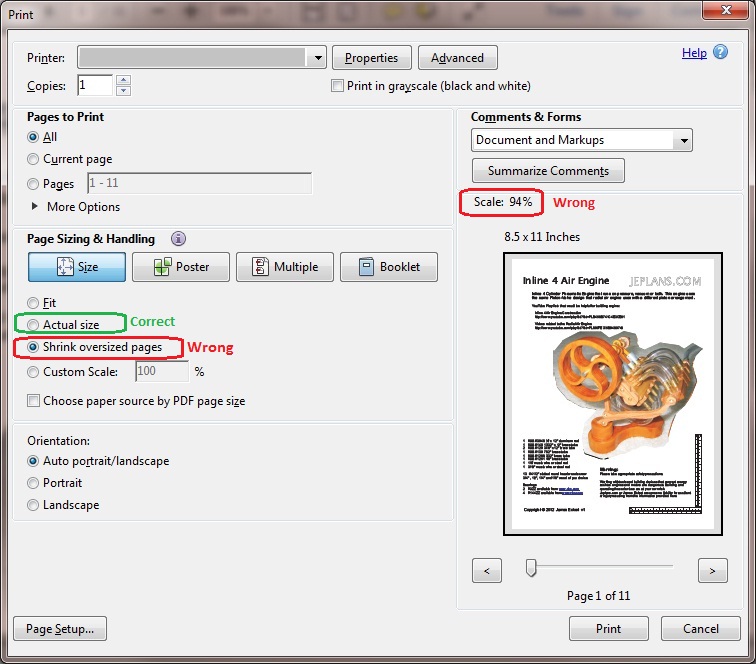
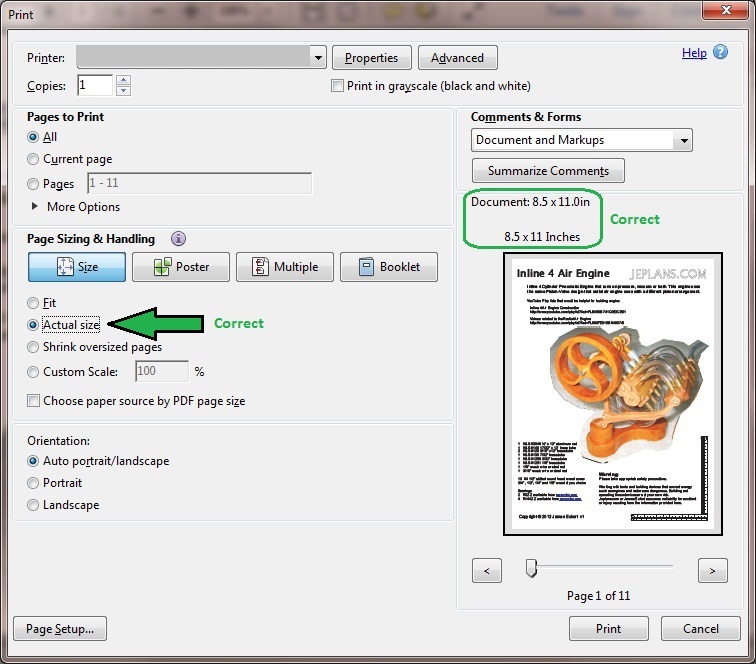
Most of my plans are designed to be cut out and attached to the material being used. As a result, it is important that they are printed at full size (Actual size). The plans are sized for Letter size paper. I have tried to make sure that no needed information would be cut off when printing on A4 size paper at 100%/actual size.
Assuming the plan is being viewed with Adobe® Reader®, a dialog box should come after clicking the printer or selecting print. In that print dialog box, there should be a section called Page Sizing & Handling. Make sure it is set to Actual size prior to printing.
To make it easier to verify they printed out the right size, I have started adding a ruler to the bottom right of each page. As existing plans are updated a notification for each will be sent.
Attaching Plans
Attaching plans to the item being worked on is common practice with scroll saw projects; most of my projects use a scroll saw at some point.
Typically I put masking or painters tape on the material to be cut and use a glue stick or spay on adhesive to attach that pattern to the tape. This allow for a quick and clean removal and the pattern when done.
| 